

Hi!
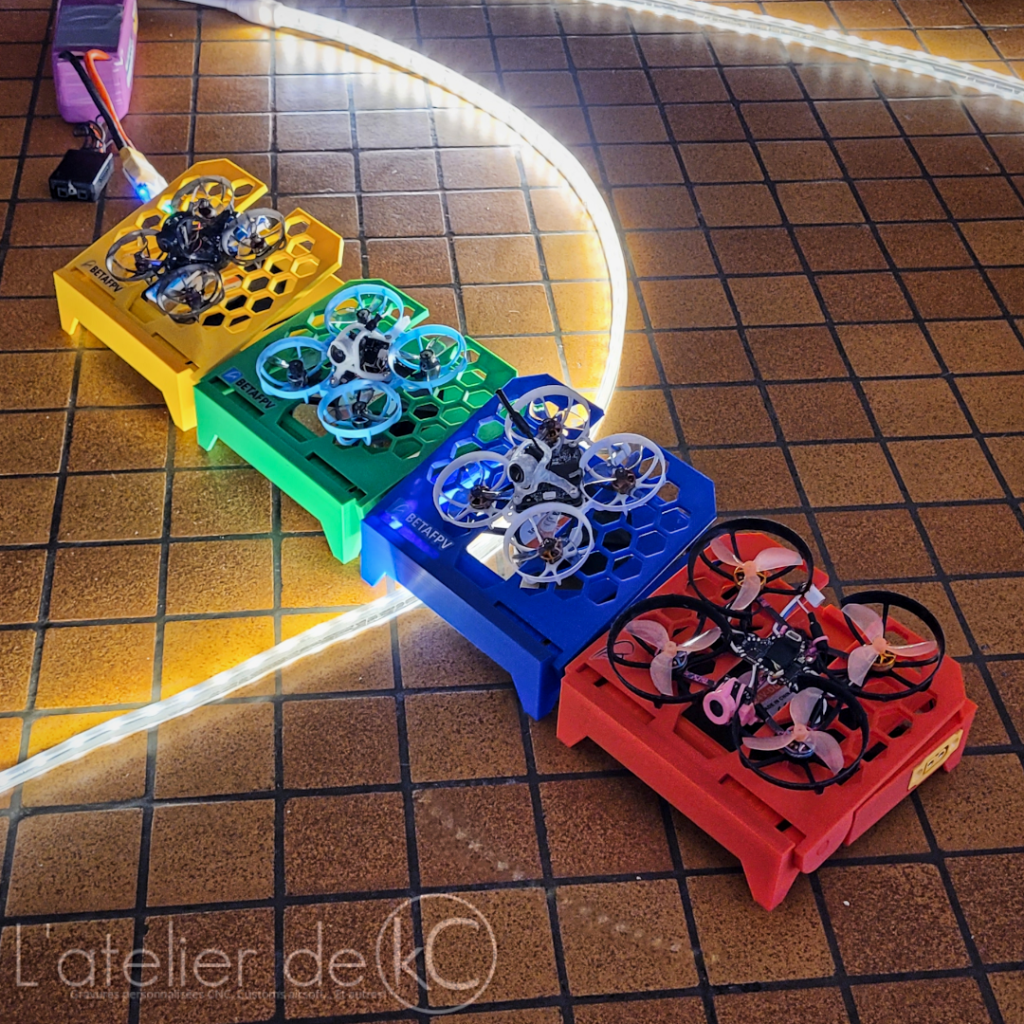
Here’s the result of several weeks of work designing the ultimate whoop racing launch pad:
Introduction
The idea was to create the most advanced whoop launchpad:
- 2 versions: Adjustable tilt from 0 to 30°, in 10° increments, or from 0° to 45° in 15° increments. 📐
- Two-part ramp with a central opening to allow space for the whoops’ LiPo batteries. 🔋
- A fan to prevent the AIO and VTX from overheating 🔥
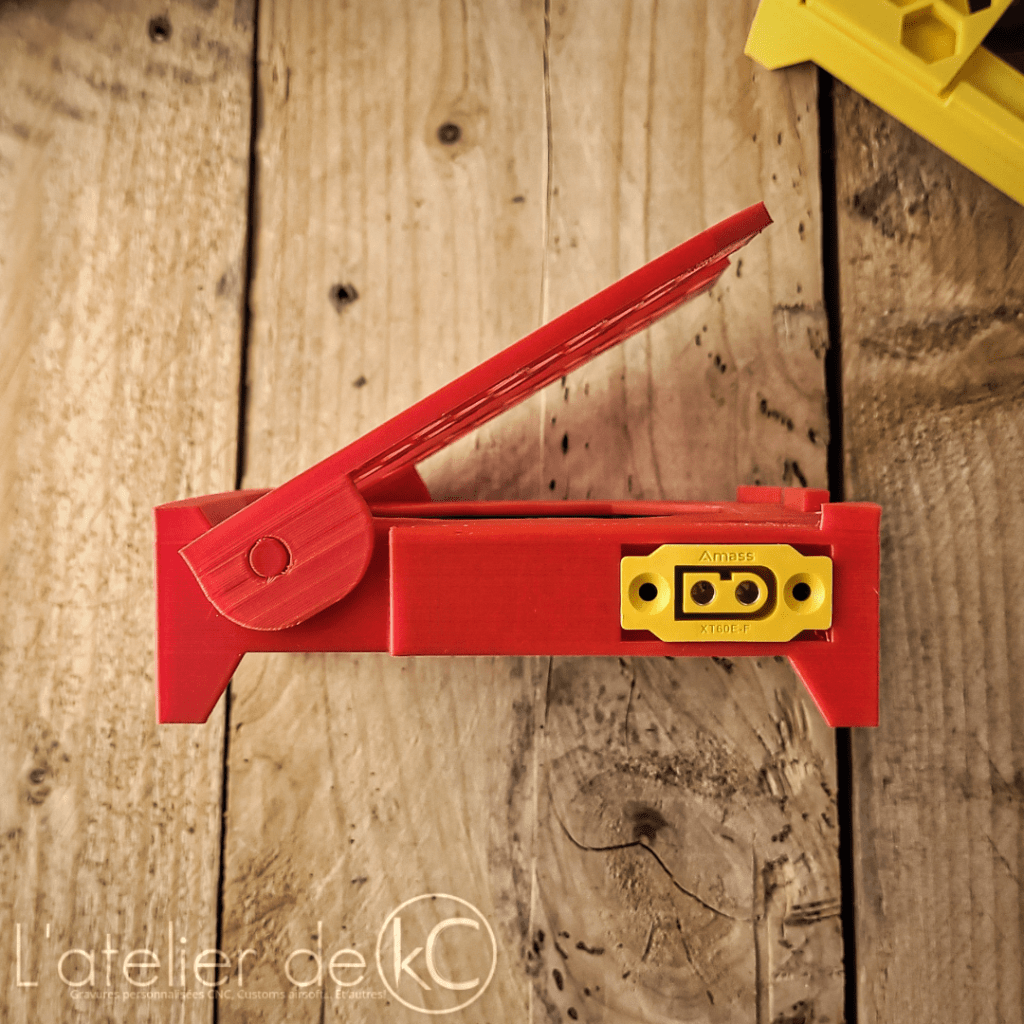
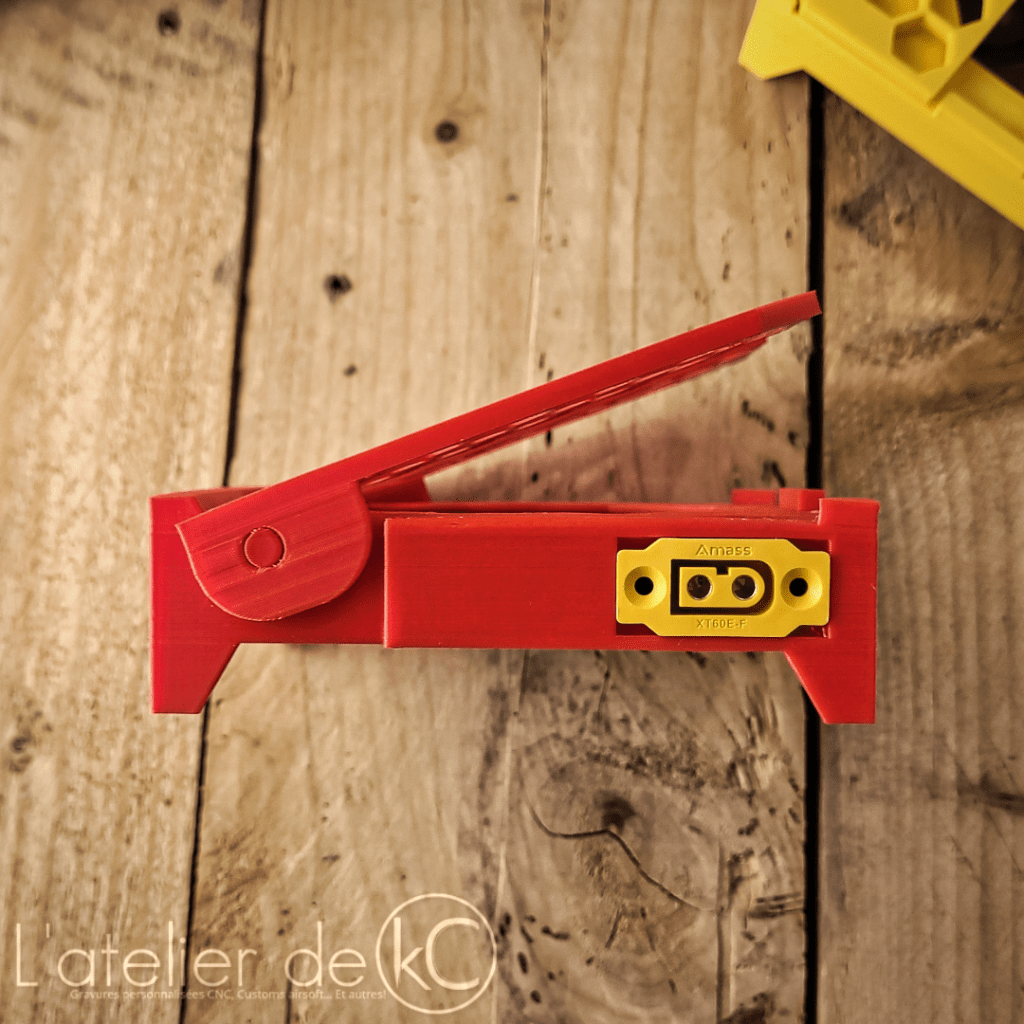
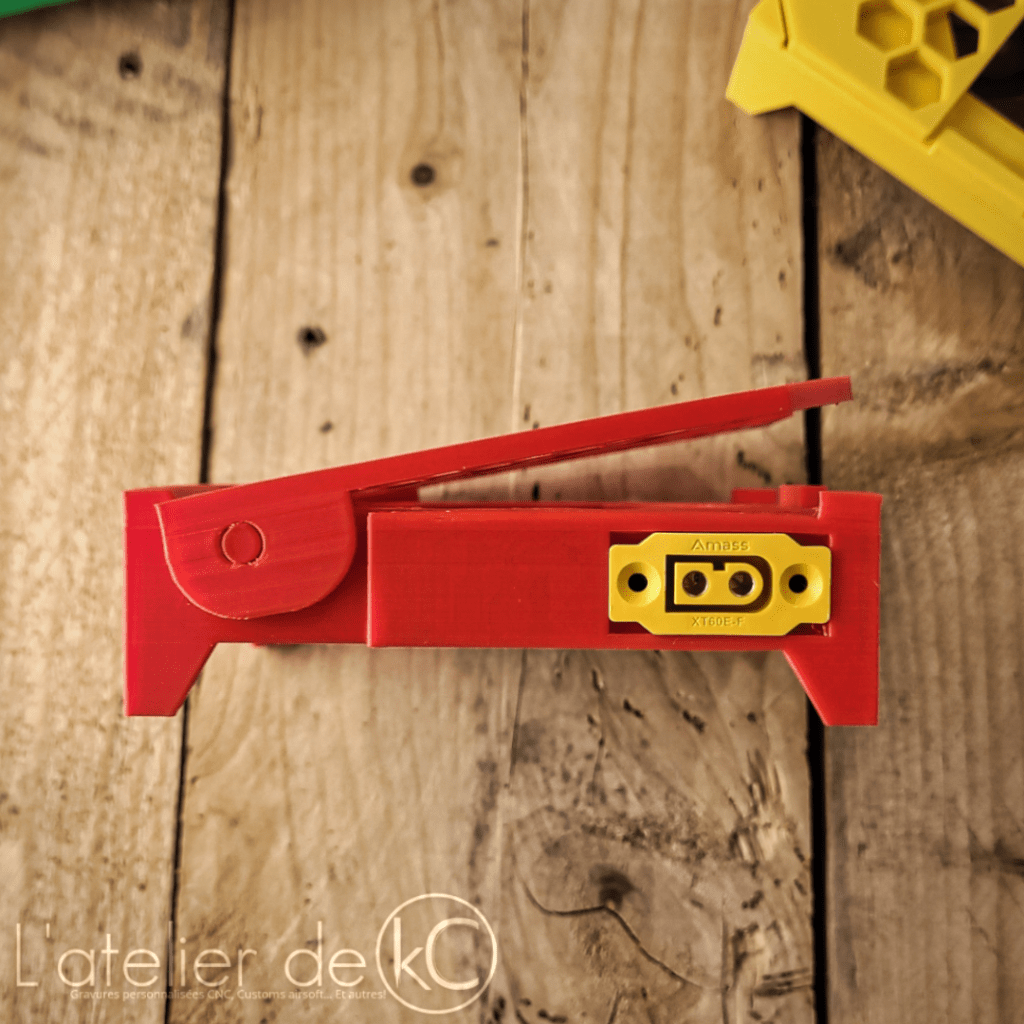
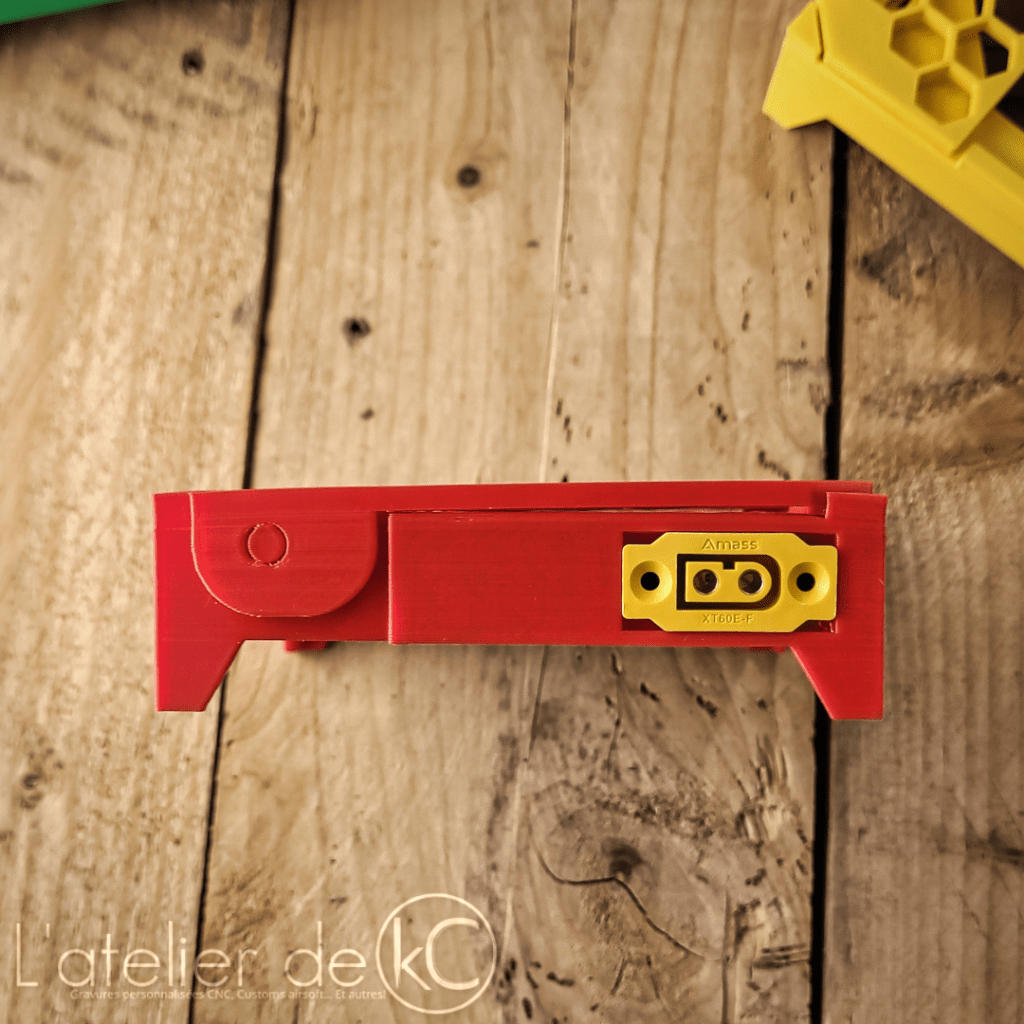
- An XT60 connection to power the fan from a 2 to 6S LiPo/Li-ion battery 🔌
- The ability to link multiple pads together to power them from the same LiPo battery! 🔗
- A simple design to print directly in place without supports! 🚀

Setup
The tilt is adjusted by pulling the two ramp halves apart, and locks into the different adjustment positions when released.

I use a smoke stopper as on/off switch; this will also protect the LiPo battery in case of wiring problems! ⛑️
Print settings/tips:
Print level:
Easy 🟩🟩🟩🟨🟨🟨🟥✔️🟥 Hard
This print can be quite tricky…
Suggested settings:
- Material : PETG, ABS, PLA, …
- Infill : 20 à 60 %
- Layers : 0,2 mm
- Supports : Up to you
Prints directly in place, without supports, in PLA or other rigid filament.
Adjust your bridges settings correctly to simplify the separation of the articulated layers!
Bridges settings I used for PLA prints (In Cura in my case, activate « Enable bridge settings »):
- Bridge wall speed: 20mm/s
- Bridge wall flow: 150%
- Bridge skin speed: 20mm/s
- Bridge skin flow: 150%
- Bridge Fan speed: 60%
(100% flow, 50mm/s and 20% fan speed for the rest of the print)
Check this video/channel to improve your bridges settings:
https://youtu.be/eaasEkFULKE?si=920PLM71pnC-3P0w
(I’m not the author of this video)
You can also print the 2 parts separately if printing in place is too tricky.
Assembly tips:
XT60 connectors must fit snugly in the base, use hot glue to secure everything in place!

Don’t use the XT60′ screws to mount them, or you won’t be able to connect multiple bases together.
Download
Find this design, and many others, on my Cults3D page:
A wiring diagram is included, as well as a list of necessary components. 📖
Use this coupon code for -20% on all my designs: PROMO-20_ATELIER-KC !
-kC-


Laisser un commentaire